Step by Step Instructions for Setting Up a Microsoft Bing Dynamic Search Ads Feed
General Introduction
The process for creating Bing Dynamic Search Ads is to:
- create a Page Feed in Microsoft Advertisings's Business Data section.
- schedule automated updates to the Page Feed to pull inventory every six hours from the VIN IQ feed.
- create a Dynamic Campaign and Dynamic Ad Group in Microsoft Advertising.
- create an Ad that is configured to use the vehicles contained within the Page Feed.
Once you have completed this, Microsoft Advertising will then use the vehicle inventory in the page feed to populate your ads. As inventory is added to or removed from the feed by VIN IQ the ads update automatically.
A. Create a Business Feed
To begin, log into your Microsoft Advertising account.
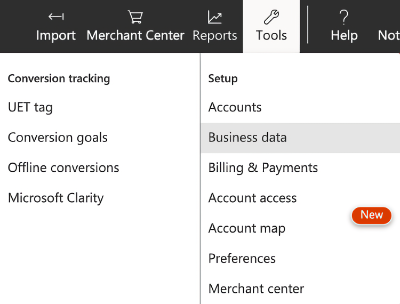
1. Click the Tools menu at the top right of the screen and choose Business data under the Setup menu section.
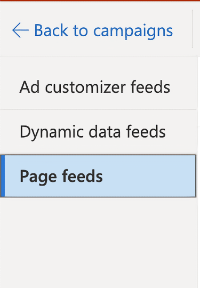
2. From the menu that appears on the left, choose Page feeds.
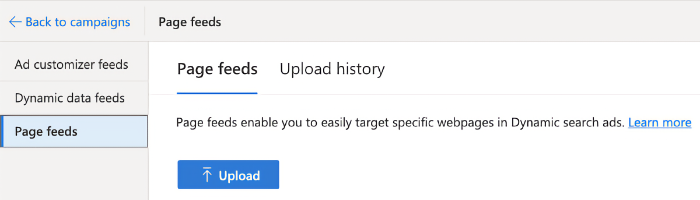
3. Click the blue Upload button.
4. Provide a friendly name for this feed in the Name field.
- Choose a name that you can easily identify later when you create your campaign.
- Click the Browse... button and then choose the VIN IQ feed file you downloaded to your computer earlier.
- Once you have chosen the file, click the blue Upload and preview button to upload the file to Microsoft Advertising and view the results.
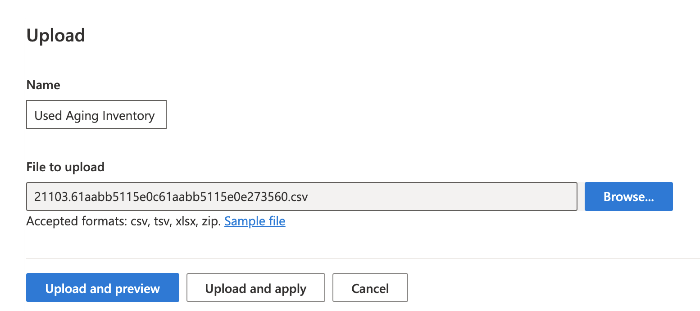
5. After a few moments the file will be uploaded and processed and you should see a results table with a number in the Valid count column indicating the number of records accepted. Click the blue Apply Changes button to continue.

6. After a few more moments, Microsoft processes the feed file and shows you a success summary with details in a table. Your feed should appear in the list below the summary table. Click the name of your file under the Name column to access its settings.
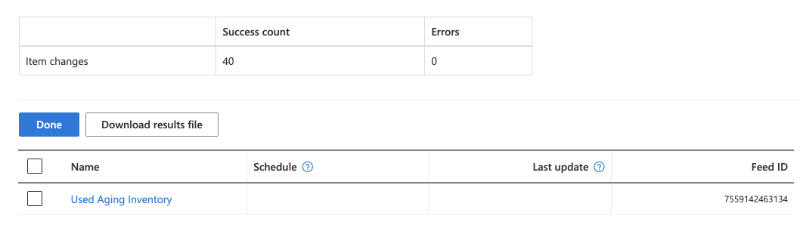
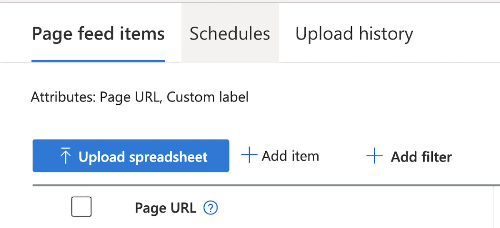
7. You are now on the Page feed items view. Click the Schedules menu item to the right of the Page feed items menu title.
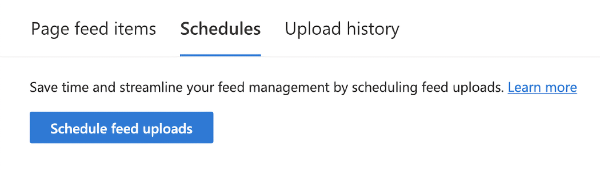
8. Click the blue Schedule feed uploads button.
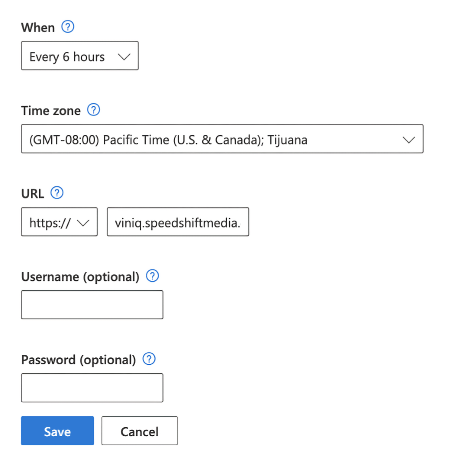
9. You will now schedule the feed updates.
- From the When options list, choose Every 6 Hours.
- From the URL options list, ensure https:// is chosen from the available options.
- Paste the link provided by VIN IQ into the text field next to the https:// URL setting.
- You do not need to enter a username and password.
- Click the blue Save button.
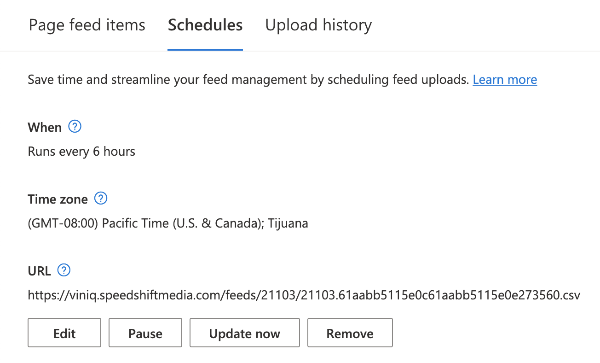
10. You will now see a summary of your scheduled feed details. VIN IQ will update the inventory in the feed every six hours based on vehicle activity on your website. Microsoft Bing Search Ads will then dynamically change the available inventory in the ads accordingly.
B. Create a Campaign
The next step is to create a basic campaign in Microsoft Bing. From the choices available, it is clear you can configure your campaigns in a variety of ways depending on your specific objectives. These instructions will show you how to create a basic campaign from scratch along with the necessary page feed data to allow for Dynamic Search Ads within Microsoft Bing.
Since every dealership's marketing needs are different, it is outside of the scope of this guide to explain every possible setting. For detailed configuration instructions on how to ensure your campaign performs best for your strategic and tactical needs, please refer to your Microsoft Advertising Specialist, your agency partner or Microsoft Bing Help.
1. Click the Microsoft Logo at the top left to return to the main Campaigns screen.
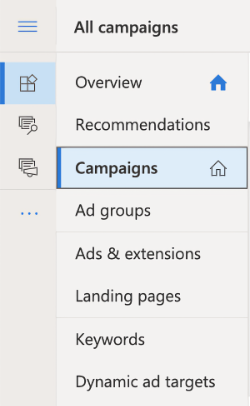
2. Click the Campaigns menu.
3. Click the blue Create Campaign button.

4. Choose a goal for the campaign. For this guide example, choose Visits to my Website.

5. From the What kind of ads do you want to run for this campaign? dialog, choose Search Ads then click the blue Next button.
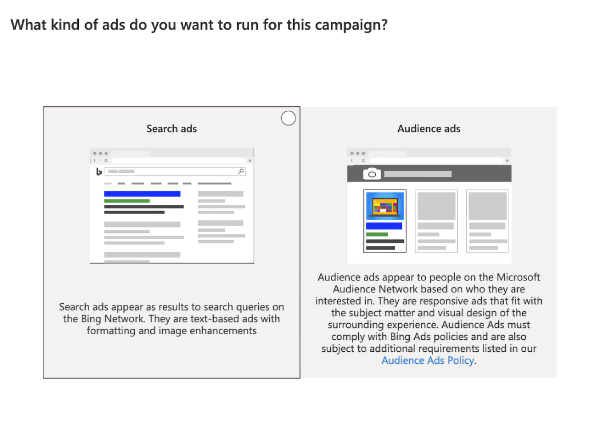
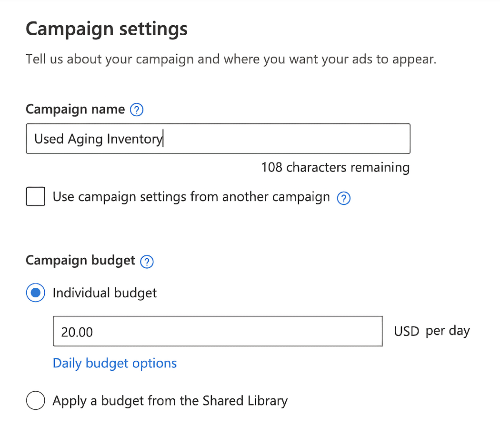
6. Next, enter a friendly name for this campaign in the Campaign name field and enter your Campaign budget as desired.
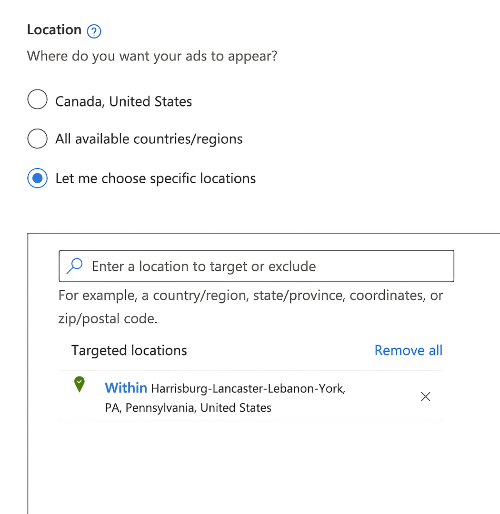
7. Now enter your targeting requirements using the Location settings options.
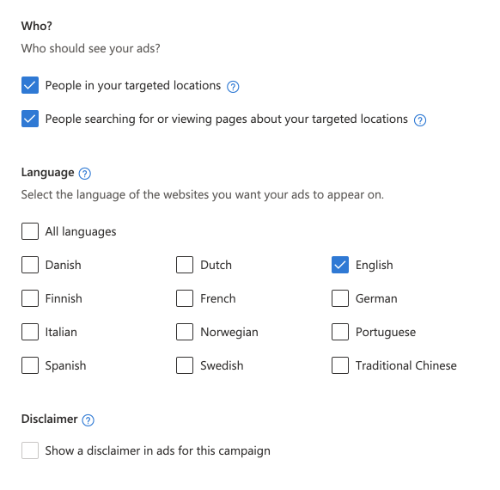
8. Enter the Who and Language settings as desired.
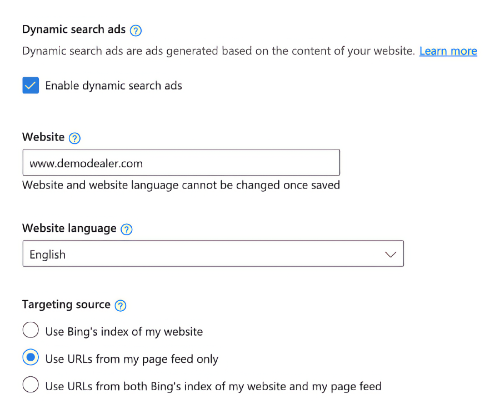
9. In the Dynamic Search Ads section, click the checkbox to Enable dynamic search ads, enter your homepage address in the Website section and then choose the Use URLs from my page feed only option in the Targeting source section.
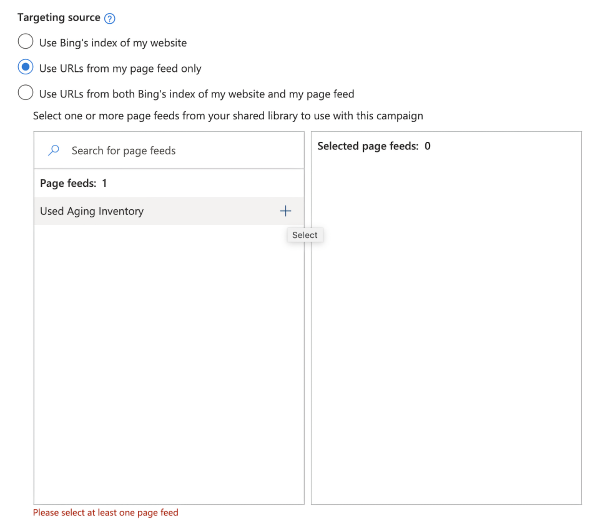
10. A table appears with a list of page feeds you may choose from as targeting sources for this campaign. Choose the page feed you uploaded earlier by clicking the plus symbol next to the feed name.
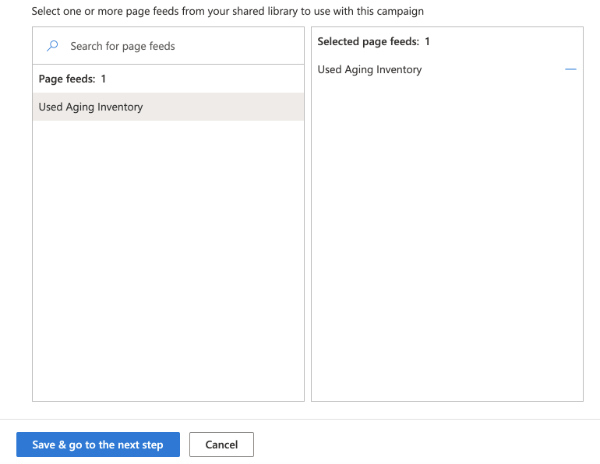
11. Once correctly selected, the feed's name appears in the Selected Page Feed panel on the right. Click the blue Save & go to the next step button.
C. Create Ad Group & Ads
The final step is to create a basic Ad Group and an Ad. Ad groups are used for grouping one or more similar Ads under your overall campaign.
You should be on the Ad groups screen at this point.
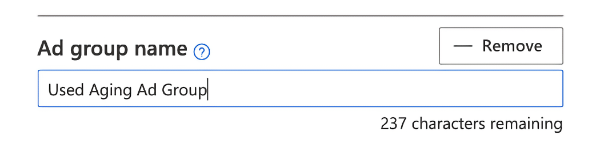
1. Enter a friendly name for this ad group in the Ad group name field.
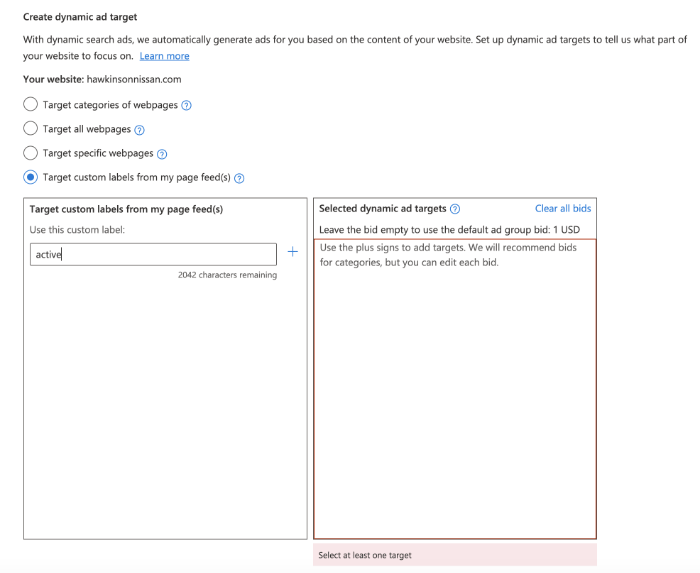
2. We will now create our dynamic targets for this ad group. We do this by first choosing the option Target custom labels from my page feed(s) and then entering the word active (all lowercase, no spaces before or after) in the input field labelled Use this custom label.
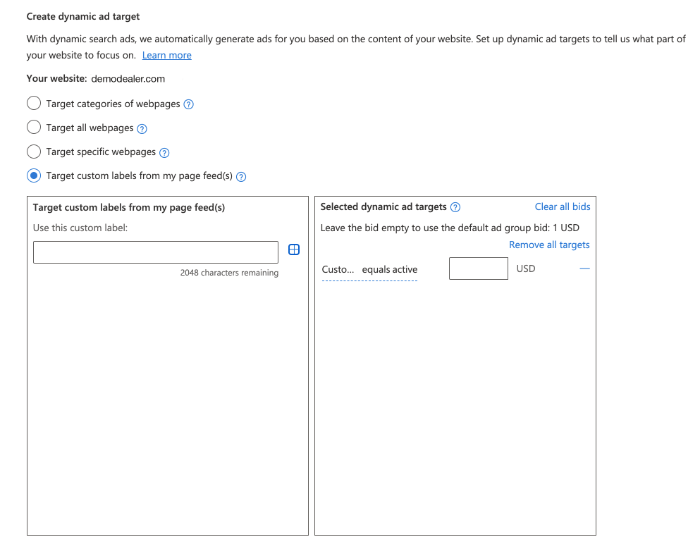
3. Now click the plus icon next to the field that you just entered the word active to move the custom label to the Selected dynamic ad targets list on the right-side panel.
4. Click the blue Save & go to the next step button.

Clicking this button creates the Ad Group and allows you to now create your ads.
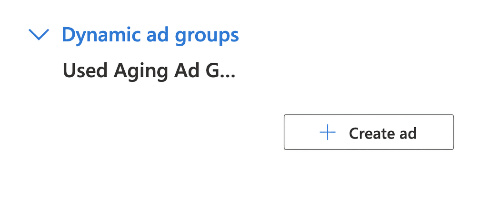
5. Next, click the Create Ad button under the Dynamic Ad Groups section
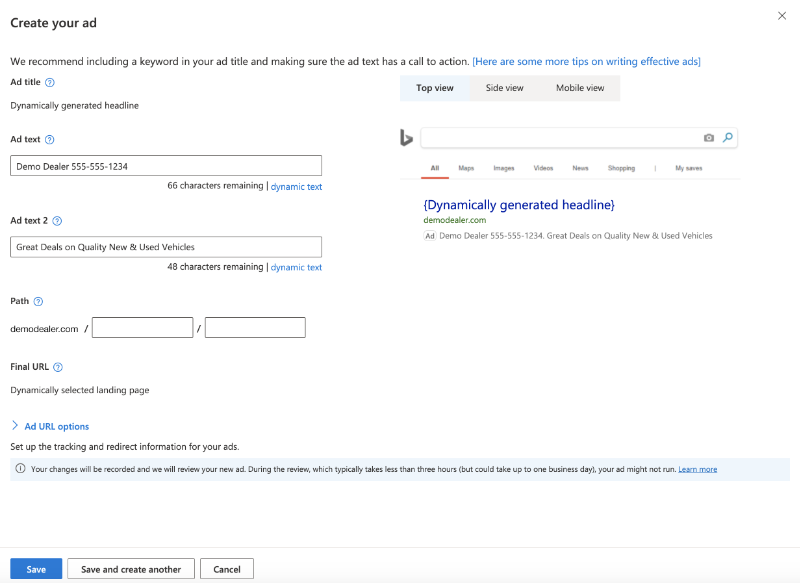
6. From the options that appear, enter up to two lines of ad text in the Ad text and Ad Text 2 fields. Text that you enter here will be displayed at the bottom of your ads. The main Ad Headline will be dynamically generated from your page feed data and will closely match the user's search terms.
7. Now, add campaign tracking by clicking the Ad URL Options link.
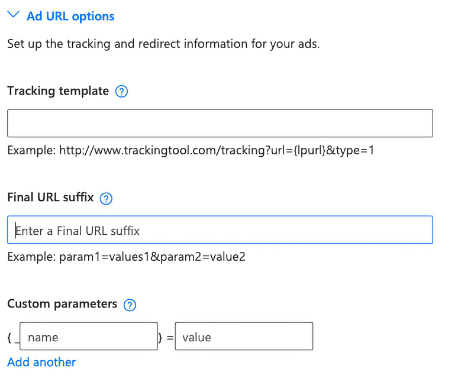
In the Final URL suffix field you can enter the desired UTM values for Source, Medium, Campaign etc.
While you can enter any values you wish as UTM tracking parameters, typical examples will be descriptive of the source (Google) and the medium (cpc). However, in order to clearly see this traffic versus other similar source traffic, ensure these UTMs are not identical to your other source/mediums.
One suggestion is to slightly alter either the source or the medium to denote this is being fed by VIN IQ. A simple example of this is as follows:
utm_source=google-viniq&utm_medium=cpc
By keeping the medium as cpc you will ensure that Google Analytics treats this traffic as part of the Search channel in your own Google Analytics, but you can easily see the difference between other search sources and the VINIQ-powered source. Alternatively, you can add the utm_campaign parameter and make it more descriptive:
utm_source=google&utm_medium=cpc&utm_campaign=viniq_dynamic_feed
8. Click the blue Save button to Save the ad settings and go to the next step.
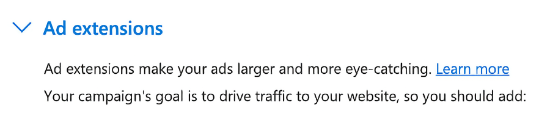
9. You can now configure ad extension details for your ad settings as you desire. There are several options to expand and customize your ads. Please refer to Microsoft Bing Help on how to correctly use the various settings. Click the blue Save & go to the next step button at the bottom of the screen to continue.
10. Complete the Ad configuration by setting the remaining Budget & Bid settings, Campaign targets and any Advanced campaign settings you would like to configure. Click the blue Save button to continue.
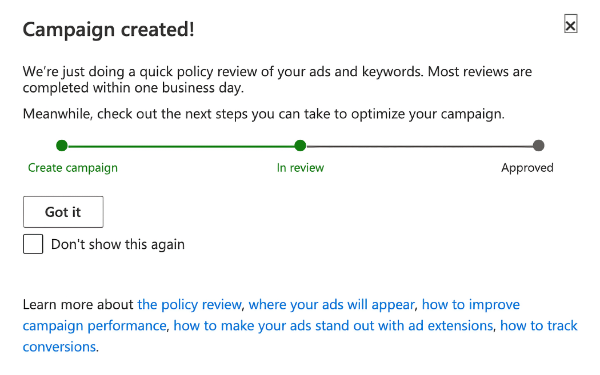
11. You should now get a final Campaign Created message with information indicating that your ads are now in review. Once approved, the ads will start to run within 24 hours. Click the Got It button to close this message and return to the campaigns screen.